
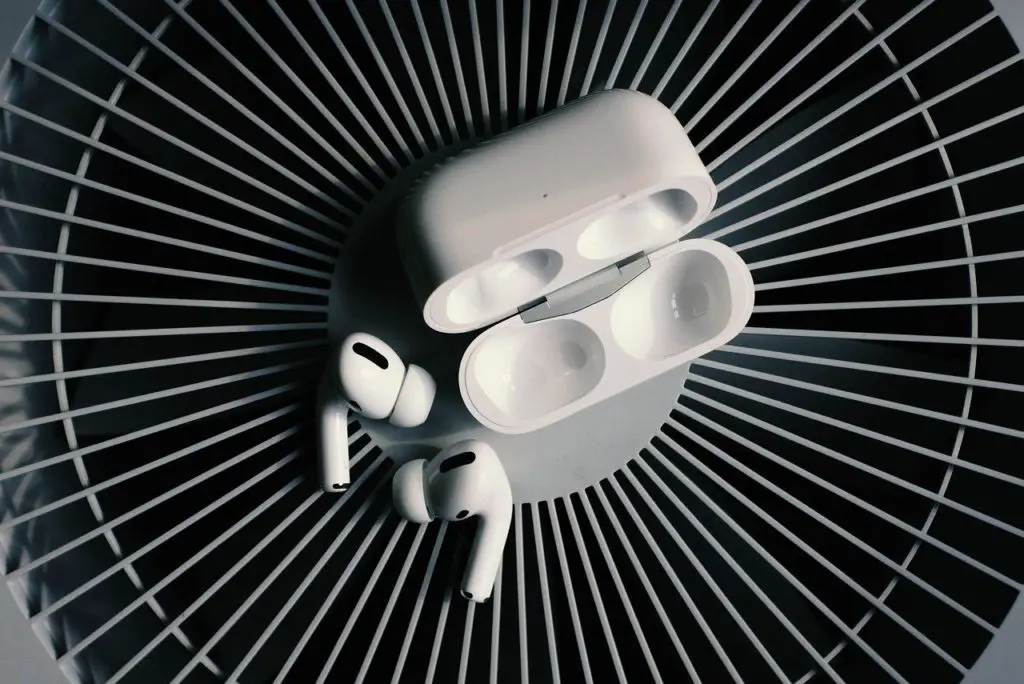
Dictation is one of the most convenient features of Apple devices, and being able to use your AirPod Pros to do it is even handier.
Like all technology, however, there are sometimes glitches. Fortunately, there are plenty of simple tricks to fix these issues.
Here are 9 ways you can fix AirPod Pro Dictation:
- Update iOS.
- Reset your AirPod Pros.
- Restart your device.
- Enable dictation.
- Check your internet connection.
- Use the standard keyboard.
- Turn off screen time restrictions.
- Test the microphone on your AirPod Pros.
- Use the left AirPod first.
A problem with AirPod Pro dictation is either the AirPod Pros themselves or your device.
Either way, there are plenty of quick fixes to try. Read on to learn how you can address the problem from both sides.
1. Update iOS
Your AirPod Pros may be having problems because your device software isn’t up to date.
Apple makes frequent iOS updates to address bugs, so checking your iOS version is a good first step.
To update your device:
- Go into your Settings app and select ‘General.’
- Click on ‘Software Update’, which should be the second option.
- Your device will then tell you if a new update is available. If so, download and install the update.
2. Reset Your AirPod Pros
Like most technology, performing a reset is one of the first things to try to address an issue.
You can reset your Air Pod Pros by disconnecting them from your device and adding them anew.
To do this, Apple instructs you to leave your AirPods in the case and close it for 30 seconds.
Then follow these instructions to perform a reset:
- In settings, select ‘Bluetooth’ and find the AirPods under ‘My Devices.’
- Press the small blue ‘i’ to the right of the AirPods.
- Click on ‘Forget This Device.
- Press the button on the back of the device and hold it down to reconnect your earbuds. Do this for 15 seconds until the light flashes.
- A screen will appear on the bottom of your device and take you through the final connection steps.
3. Restart Your iPhone or iPad
How you restart your iPhone or iPad depends on its generation.
If your device doesn’t have volume buttons on the side, hold down the home button until a new screen appears.
If you do have volume buttons, hold down the home button and one of the volume buttons.
Then follow the instructions below:
- Slide the bar that says ‘slide to power off.’
- Once the screen goes black, wait 30 seconds.
- Then hold the same buttons again until an Apple logo appears. Your device should power back on in a few seconds.
4. Enable Dictation
It’s important to ensure that the dictation settings on your device are correct.
This includes both Siri and Dictation itself.
Enable Dictation on Siri
- Open the Settings app on your device and select ‘Siri & Search.’
- Turn on all of the tabs under ‘Ask Siri.’
Enable Dictation Settings
- Open the Settings app and select ‘General’ then ‘Keyboard.’
- Halfway down that screen, there’s a tab that says ‘Enable Dictation.’ Make sure that the tab is green.
If your settings are already correct, you can deselect them and restart your phone.
When your phone comes back on, go into Settings and re-select the tabs above.
5. Check Your Internet Connection
AirPod Pros require a reliable internet connection for their dictation function to work.
The top right corner of your device has symbols for cellular data (vertical bars) and Wi-Fi (curved horizontal bars).
If these bars aren’t showing or are a light gray color, open up your settings app and turn cellular data and Wi-Fi off and restart your device.
Then turn both data and Wi-Fi back on.
If you can’t find a strong internet connection in your location, you’ll not be able to use the dictation feature.
6. Use the Standard Keyboard
Apple devices allow you to install extra keyboards that you can switch through in your messaging app. However, only the default keyboard Apple provides can handle dictation.
If one of these extra keyboards is selected, you need to tap on the little globe icon in the bottom left corner of the keyboard and select the language of the keyboard you would like to use.
If you would like to remove your extra keyboards:
- Go to Settings, select ‘General’ then ‘Keyboards.’
- Click on the first option that says ‘Keyboards’ with a number beside it.
- Press ‘Edit’ in the top right corner.
- Press the red delete button to the left of all the keyboards you no longer want to use.
7. Turn Off Screen Time Restrictions
The Screen Time feature on Apple devices can be a great way to become more conscious of how much time you spend on your phone.
However, it’s easy to accidentally turn off dictation and other apps.
To allow dictation in Screen Time:
- Open the Settings app and select ‘Screen Time.’
- Click on the red icon on the ‘Content and Privacy Restrictions’ tab.
- Under this tab, click on ‘Allowed Apps.’
- Turn on ‘Siri and Dictation’ in the top block of apps.
8. Test the Microphone on Your AirPod Pros
For dictation to work with your AirPod Pros, your microphone has to be clear.
To check the microphone on your Pods, you can record a voice memo or a short video and play it back.
If the audio is unclear, try to clean the AirPod microphones at the bottom of the device.
For information on cleaning your Airpods, visit Apple Support.
9. Use the Left Airpod First
This last tip is purely anecdotal. Several members of the Apple community forum discovered a work-around to get AirPod Pro dictation working again.
When you’re about to use your AirPods, take only the left one out of the case and use the dictation feature.
If that works for you, you can take the right Pod out, and the dictation feature should function as normal.
Final Thoughts
It can be frustrating when you can’t get your dictation to work correctly.
Hopefully, one or more tips in the article work for you.
However, if there’s a more serious problem, you can always contact Apple support or another tech repair service for assistance.